<TabHost xmlns:android="http://schemas.android.com/apk/res/android"xmlns:tools="http://schemas.android.com/tools"android:id="@android:id/tabhost"android:layout_width="match_parent"android:layout_height="match_parent"tools:context=".Main" ><LinearLayoutandroid:layout_width="match_parent"android:layout_height="match_parent"android:orientation="vertical" ><TabWidgetandroid:id="@android:id/tabs"android:layout_width="match_parent"android:layout_height="wrap_content" ></TabWidget><FrameLayoutandroid:id="@android:id/tabcontent"android:layout_width="match_parent"android:layout_height="wrap_content" ><LinearLayoutandroid:id="@+id/tab1"android:layout_width="match_parent"android:layout_height="wrap_content"android:orientation="vertical" ><TextViewandroid:layout_width="match_parent"android:layout_height="match_parent"android:text="aa" /></LinearLayout><LinearLayoutandroid:id="@+id/tab2"android:layout_width="match_parent"android:layout_height="wrap_content"android:orientation="vertical" ><TextViewandroid:layout_width="match_parent"android:layout_height="match_parent"android:text="bb" /></LinearLayout></FrameLayout></LinearLayout></TabHost>Main.java:
package com.app.main;import android.app.TabActivity;import android.os.Bundle;import android.view.View;import android.view.View.OnClickListener;import android.widget.TabHost;import android.widget.TabHost.OnTabChangeListener;import android.widget.TabHost.TabSpec;import android.widget.TabWidget;public class Main extends TabActivity {@Overrideprotected void onCreate(Bundle savedInstanceState) {super.onCreate(savedInstanceState);setContentView(R.layout.main);final TabHost tabHost = this.getTabHost();TabSpec tab1 = tabHost.newTabSpec("tab1").setIndicator("tab1").setContent(R.id.tab1);tabHost.addTab(tab1);TabSpec tab2 = tabHost.newTabSpec("tab2").setIndicator("tab2").setContent(R.id.tab2);tabHost.addTab(tab2);}}实现效果: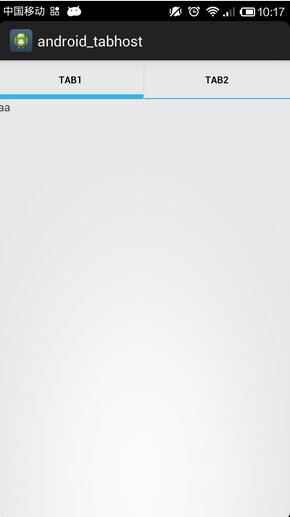
其他:
当点击tabwidget的时候,若想注册事件监听器,可以使用:
1.调用
tabHost.setOnTabChangedListener(new TabChangeListener(){public void onTabChanged(String id){}});这个传入的id,就是tabwidget的indicator,这里是"tab1","tab2";tabWidget.getChildAt(0).setOnClickListener(new OnClickListener(){});以上就是本文的全部内容,希望能给大家一个参考,也希望大家多多支持脚本之家。